> ## Documentation Index
> Fetch the complete documentation index at: https://stackonfire.mintlify.site/llms.txt
> Use this file to discover all available pages before exploring further.
# Quickstart
> Start developing locally in 5 minutes
## Get started with core of Cascade
Cascade relies on Prisma for database management and Postgres for data storage. This guide will help you set up a local development environment with a Postgres database.
You can easily replace Posgres with other databases supported by Prisma.
Check out the Prisma documentation for more information.
Clone the repo:
```bash theme={null}
git clone https://github.com/d-ivashchuk/cascade.git
```
Spin up Postgres in docker headless mode.
```bash theme={null}
docker compose up -d
```
If you are using hosted Postgres, you can skip the docker step and populate
the connection string in the `.env` file with your existing database URL.
Copy env variables from the example:
```bash theme={null}
cp .env.example .env
```
Be sure to populate database urls; at this stage, they are the most important thing to get started locally:
```.env theme={null}
POSTGRES_PRISMA_URL="postgresql://admin:admin@localhost:5432/cascade_db"
POSTGRES_URL_NON_POOLING="postgresql://admin:admin@localhost:5432/cascade_db"
```
Migrate Prisma & generate client:
```
npx prisma migrate dev
```
Install dependencies & run application
```
pnpm install && pnpm run dev
```
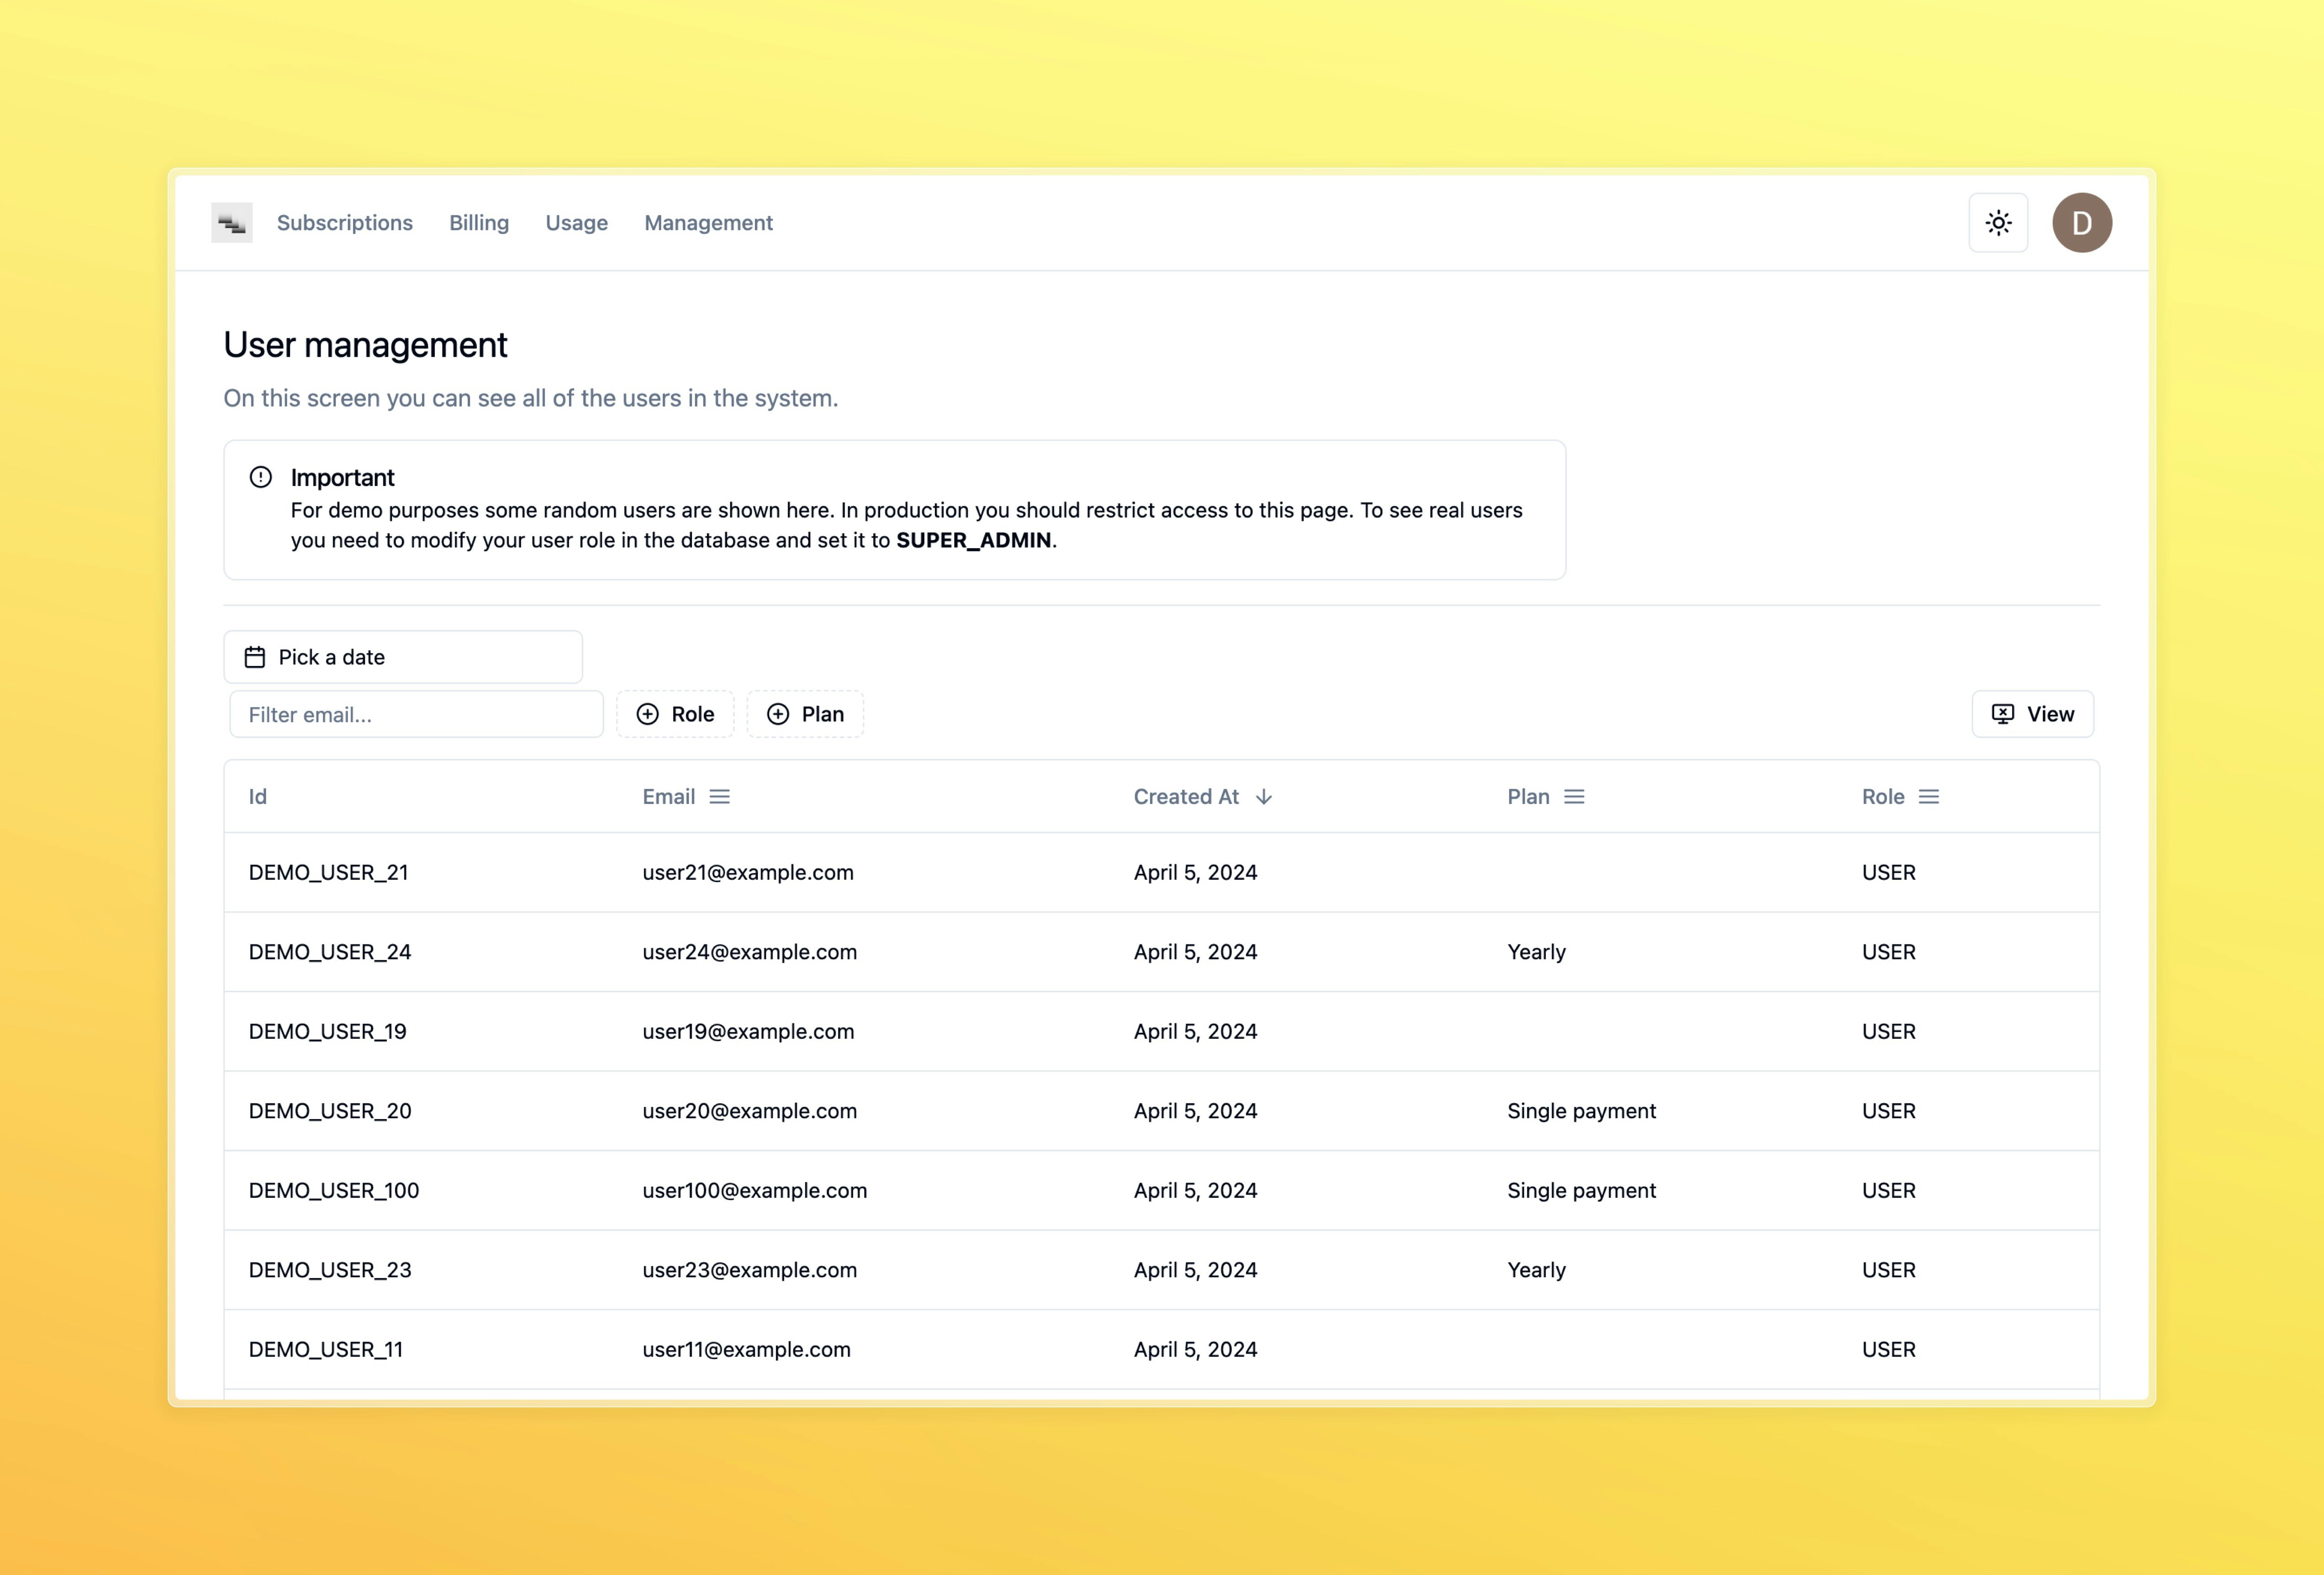
If you want to have some basic data to work with, you can populate the User table immediately by running the following command:
```bash theme={null}
npx prisma db seed
```
 ## Add Discord authentication
This section is borrowed from the [T3 app documentation](https://create.t3.gg/en/usage/next-auth#setting-up-the-default-discordprovider) as Casdcade is basing on T3.
1. Head to [the Applications section in the Discord Developer Portal](https://discord.com/developers/applications), and click on "New Application"
2. In the settings menu, go to "OAuth2 => General"
* Copy the Client ID and paste it in `DISCORD_CLIENT_ID` in `.env`.
* Under Client Secret, click "Reset Secret" and copy that string to `DISCORD_CLIENT_SECRET` in `.env`. Be careful as you won't be able to see this secret again, and resetting it will cause the existing one to expire.
* Click "Add Redirect" and paste in `/api/auth/callback/discord` (example for local development:
## Add Discord authentication
This section is borrowed from the [T3 app documentation](https://create.t3.gg/en/usage/next-auth#setting-up-the-default-discordprovider) as Casdcade is basing on T3.
1. Head to [the Applications section in the Discord Developer Portal](https://discord.com/developers/applications), and click on "New Application"
2. In the settings menu, go to "OAuth2 => General"
* Copy the Client ID and paste it in `DISCORD_CLIENT_ID` in `.env`.
* Under Client Secret, click "Reset Secret" and copy that string to `DISCORD_CLIENT_SECRET` in `.env`. Be careful as you won't be able to see this secret again, and resetting it will cause the existing one to expire.
* Click "Add Redirect" and paste in `/api/auth/callback/discord` (example for local development: [http://localhost:3000/api/auth/callback/discord](http://localhost:3000/api/auth/callback/discord))
* Save your changes
* It is possible, but not recommended, to use the same Discord Application for both development and production. You could also consider [Mocking the Provider](https://github.com/trpc/trpc/blob/main/examples/next-prisma-websockets-starter/src/pages/api/auth/%5B...nextauth%5D.ts) during development.
## Sign in into the application
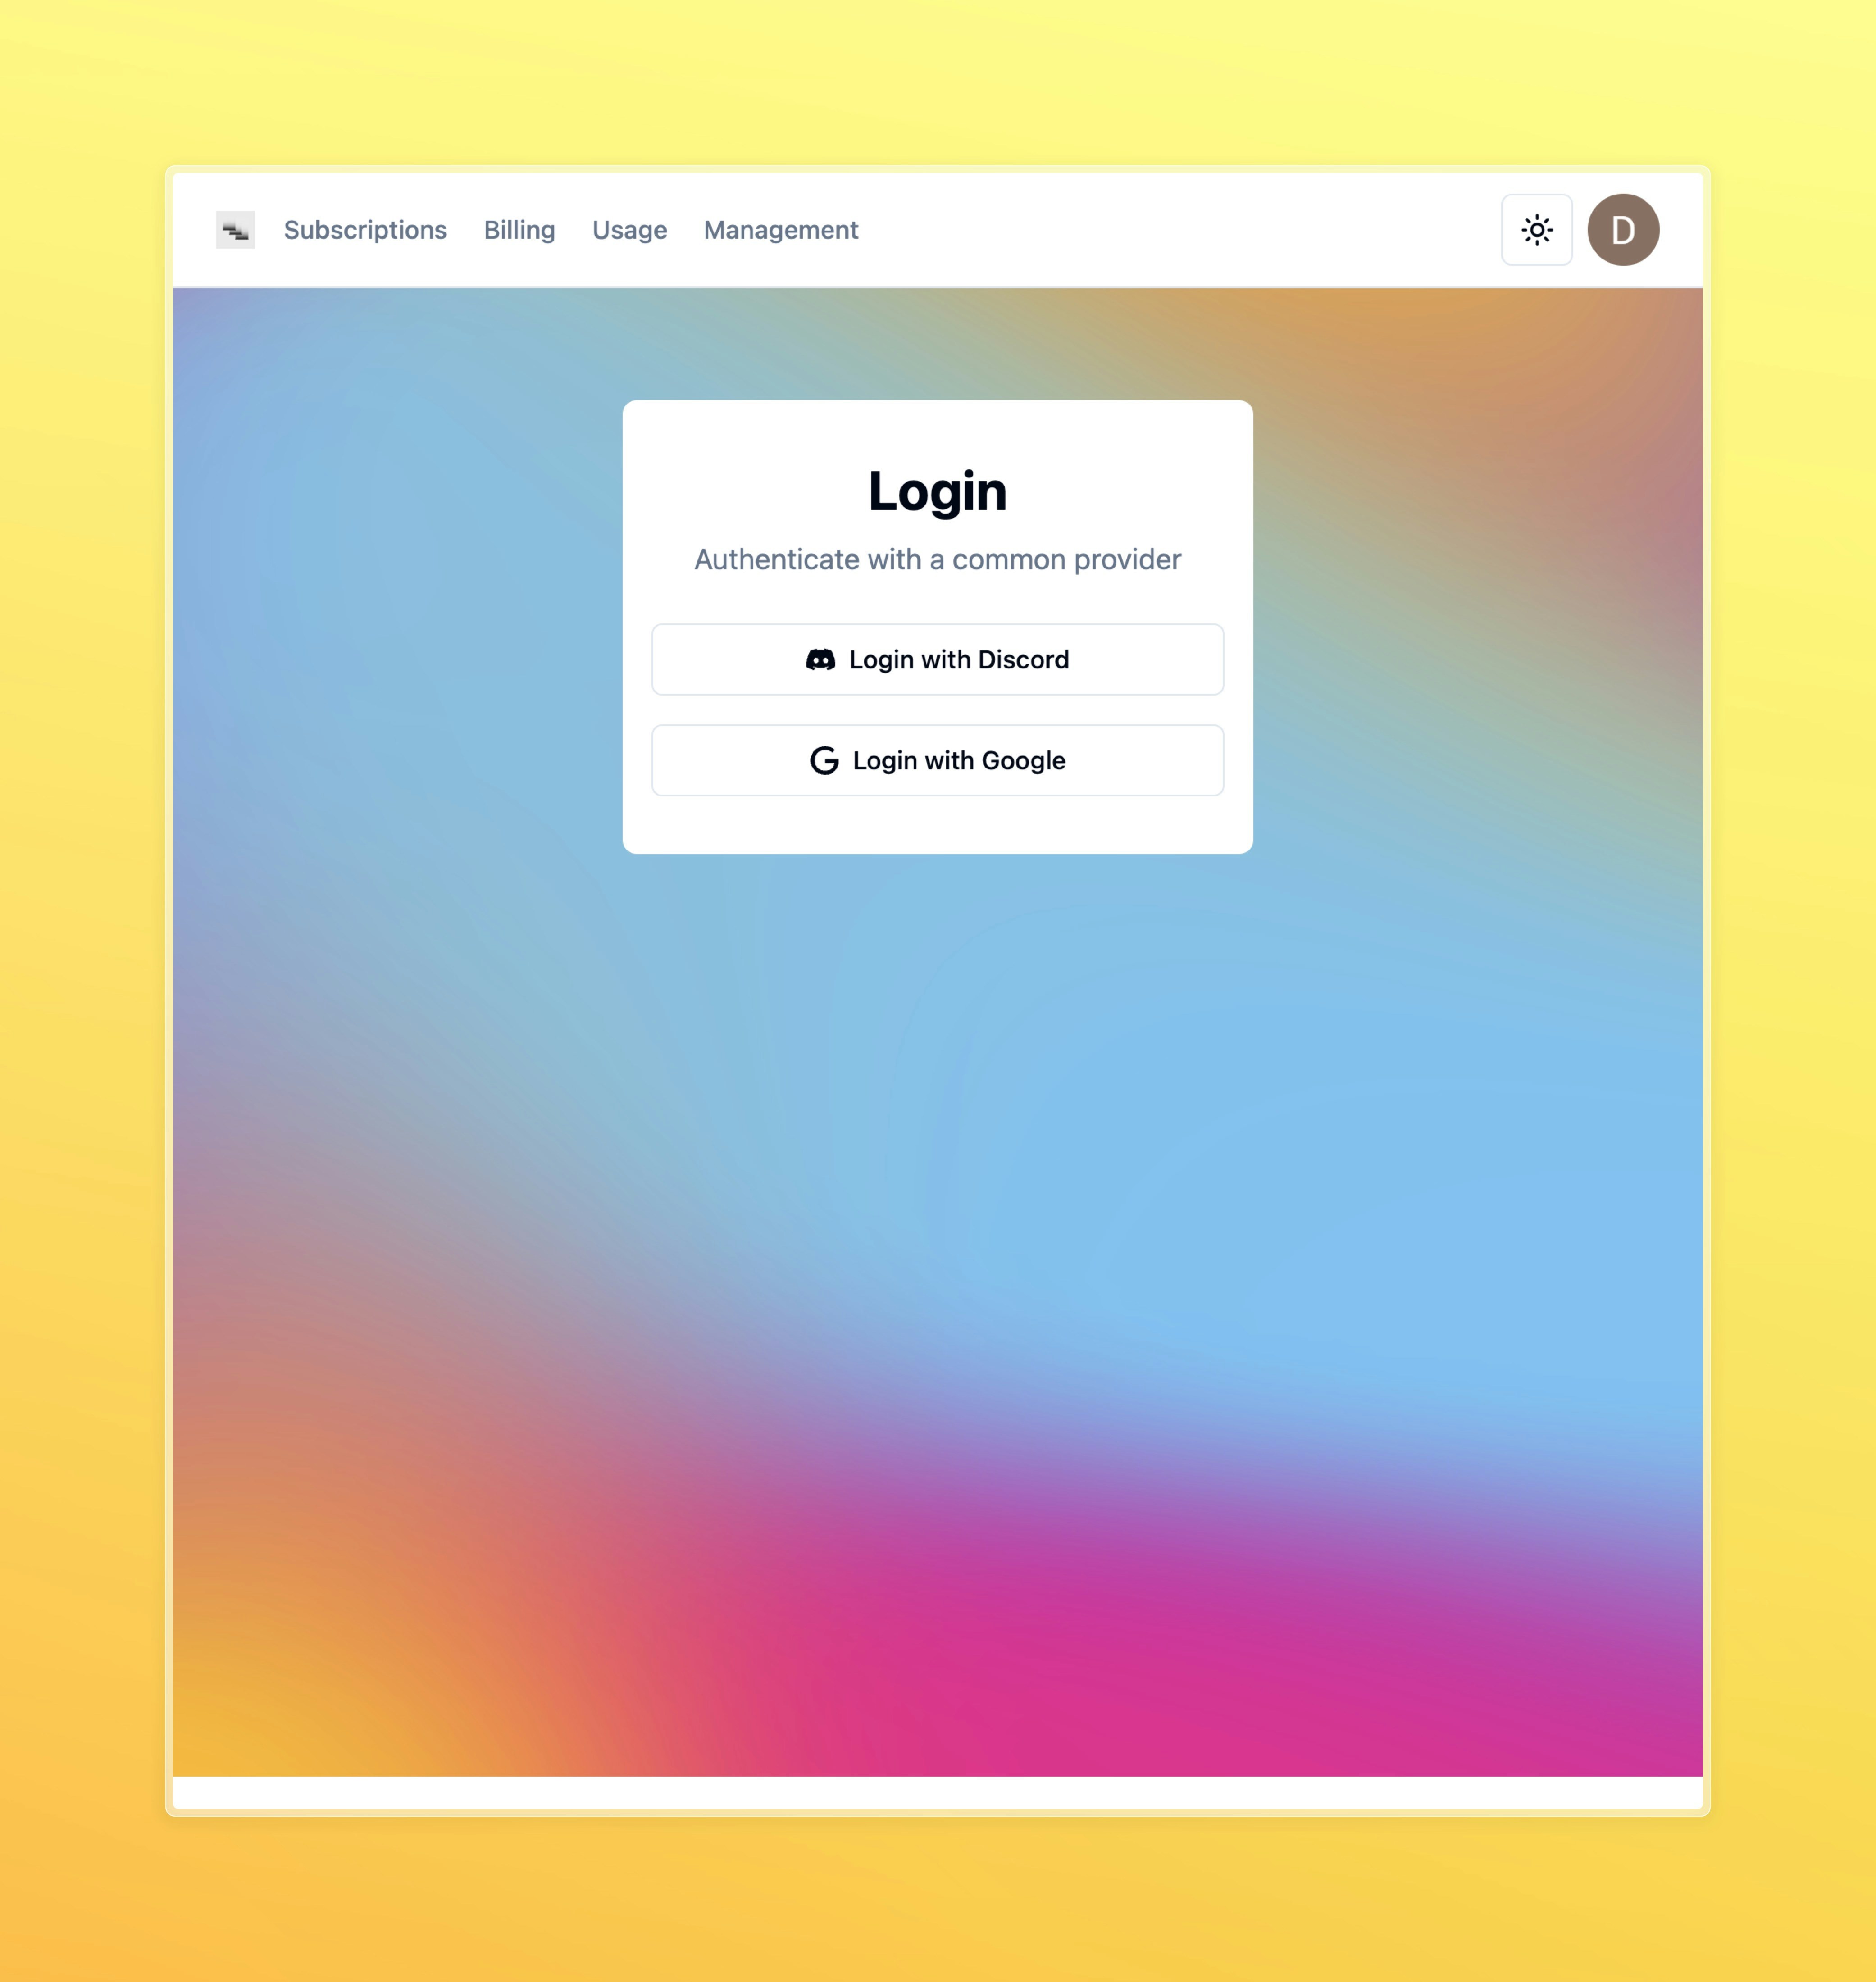
Head to the login page(`http://localhost:3000`) and click on the Discord button to sign in with your Discord account.
{" "}
 Cascade relies on roles to manage user permissions. By default, the user is assigned the `USER` role. You can change the role in the database by updating the `role` field in the `User` table.
You need to change your user role to `SUPER_ADMIN` to get access to all features
Cascade relies on roles to manage user permissions. By default, the user is assigned the `USER` role. You can change the role in the database by updating the `role` field in the `User` table.
You need to change your user role to `SUPER_ADMIN` to get access to all features