Get started with core of Cascade
Cascade relies on Prisma for database management and Postgres for data storage. This guide will help you set up a local development environment with a Postgres database.Alternative databases
Alternative databases
You can easily replace Posgres with other databases supported by Prisma.
Check out the Prisma documentation for more information.
Setup with existing Postgres
Setup with existing Postgres
If you are using hosted Postgres, you can skip the docker step and populate
the connection string in the
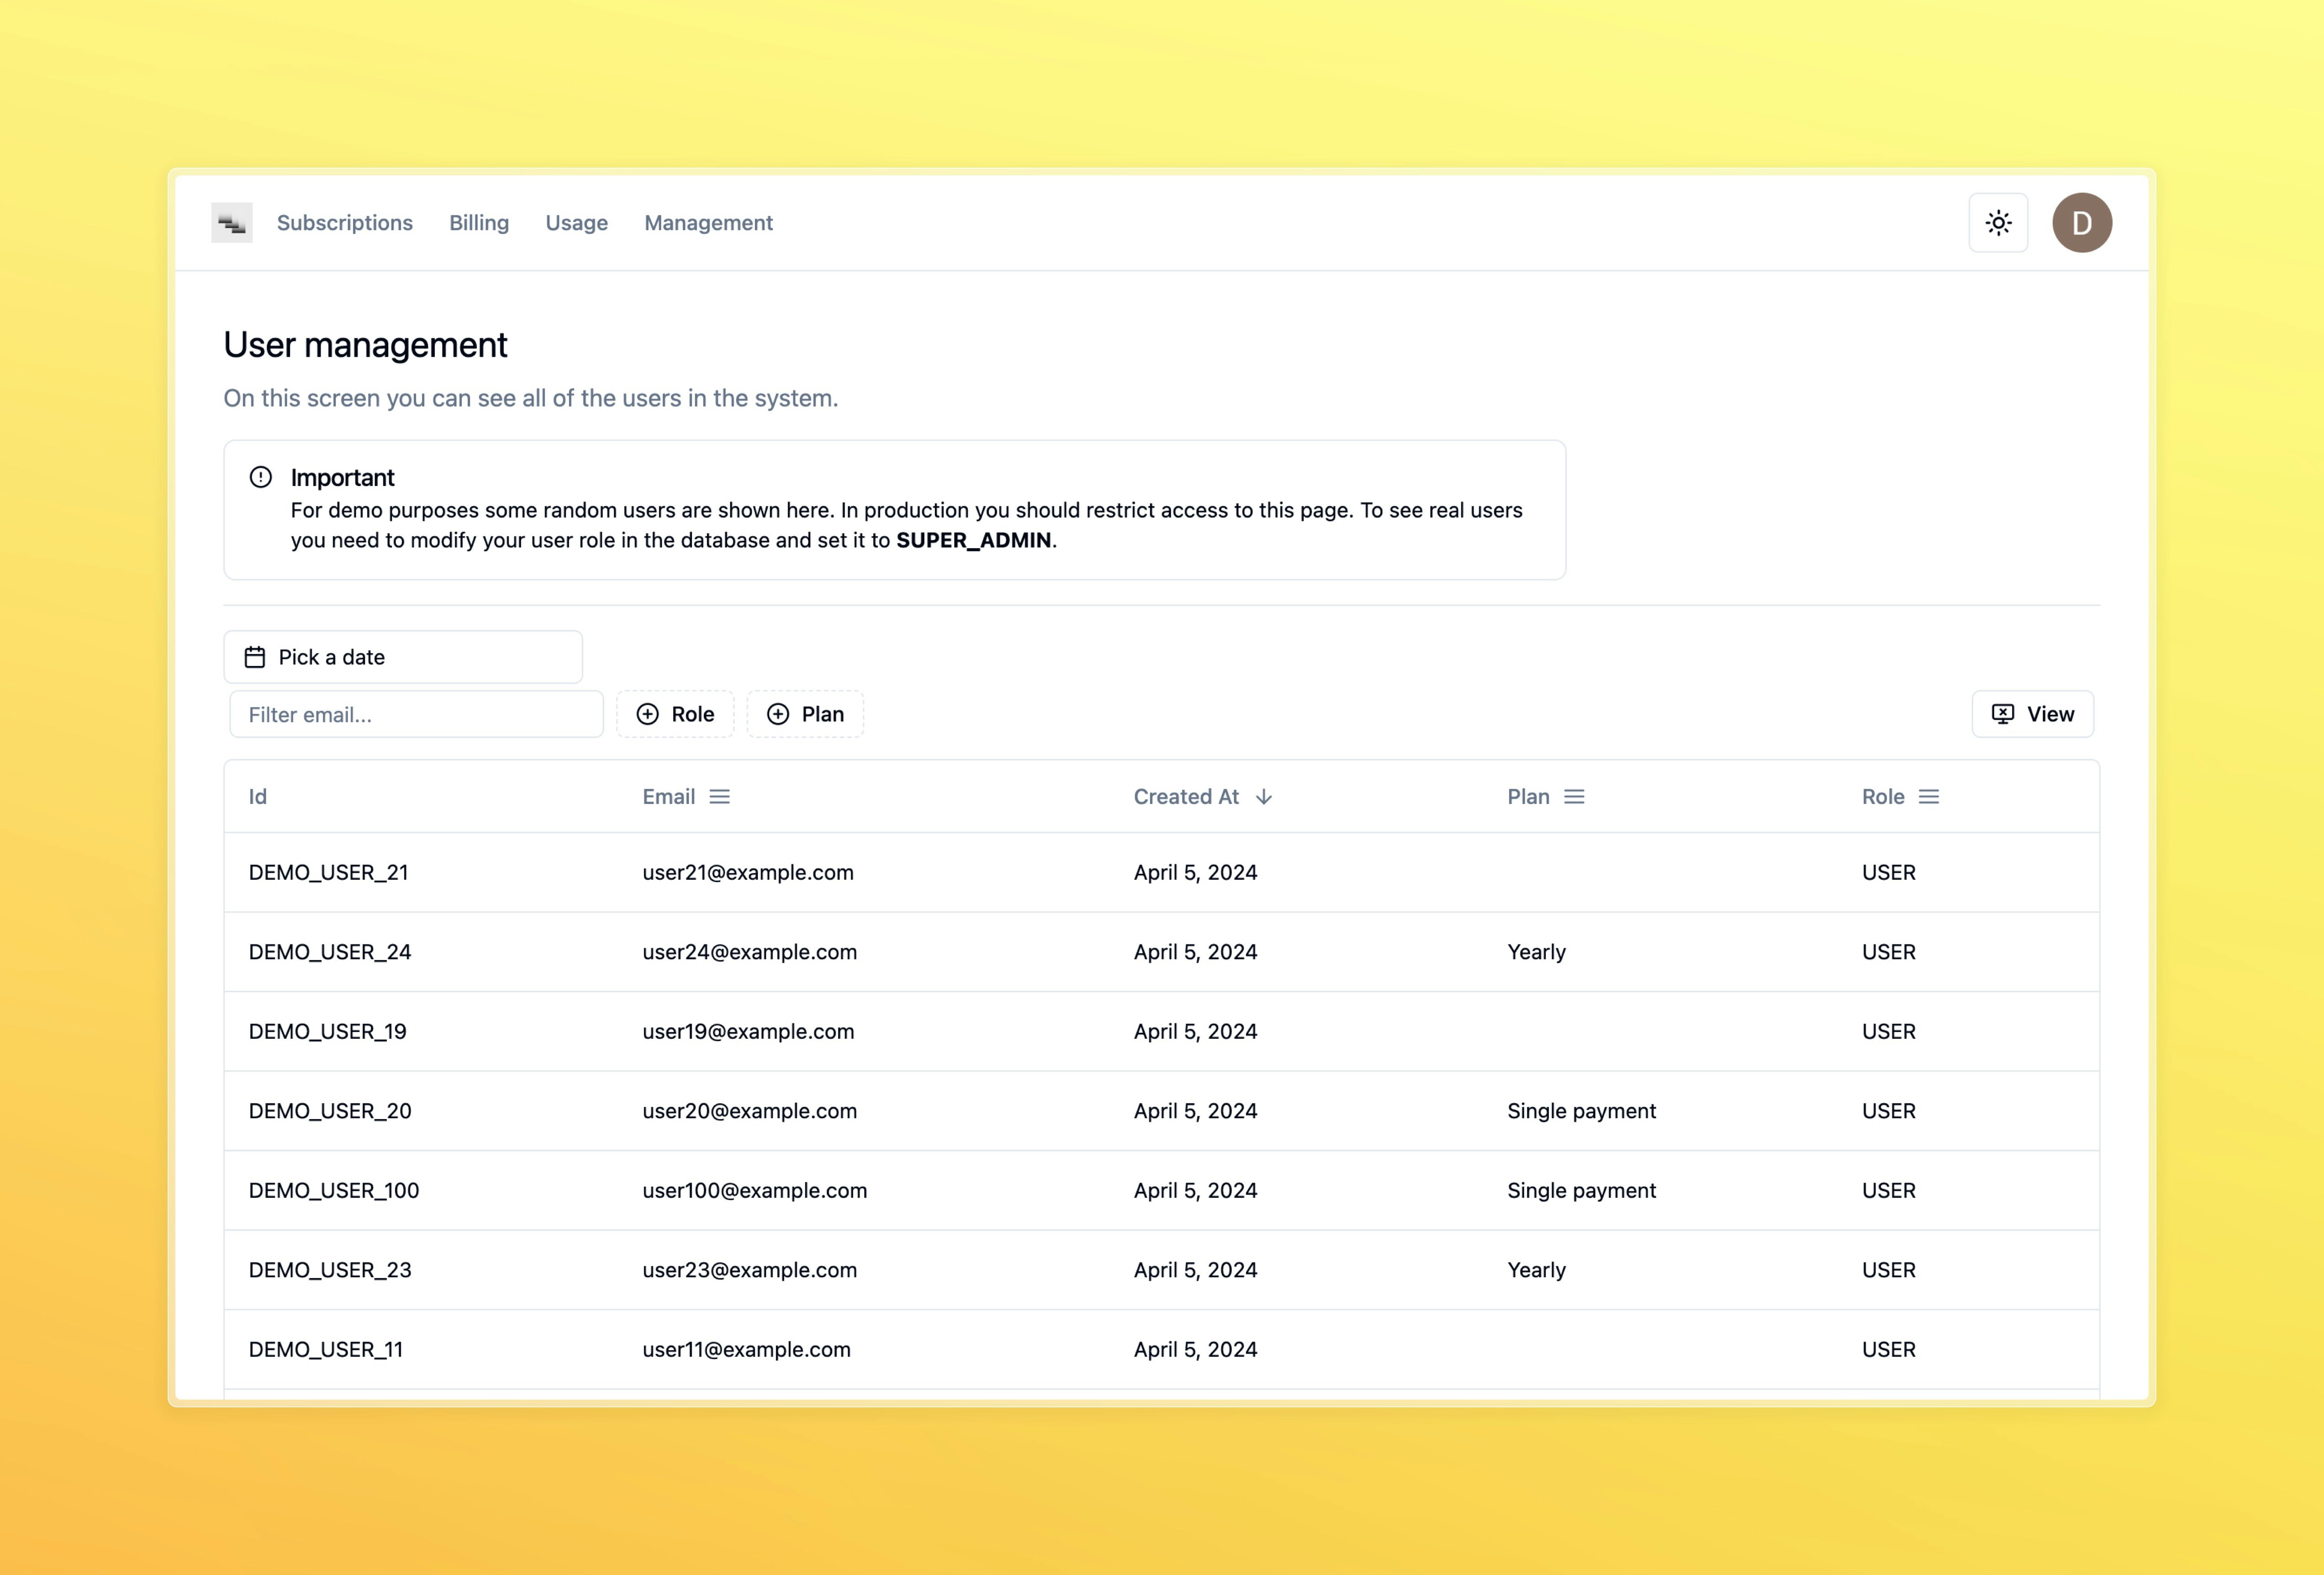
.env file with your existing database URL.Populate test users for User Management table
Populate test users for User Management table
If you want to have some basic data to work with, you can populate the User table immediately by running the following command:

Add Discord authentication
- Head to the Applications section in the Discord Developer Portal, and click on “New Application”
- In the settings menu, go to “OAuth2 => General”
- Copy the Client ID and paste it in
DISCORD_CLIENT_IDin.env. - Under Client Secret, click “Reset Secret” and copy that string to
DISCORD_CLIENT_SECRETin.env. Be careful as you won’t be able to see this secret again, and resetting it will cause the existing one to expire. - Click “Add Redirect” and paste in
<app url>/api/auth/callback/discord(example for local development:http://localhost:3000/api/auth/callback/discord) - Save your changes
- It is possible, but not recommended, to use the same Discord Application for both development and production. You could also consider Mocking the Provider during development.
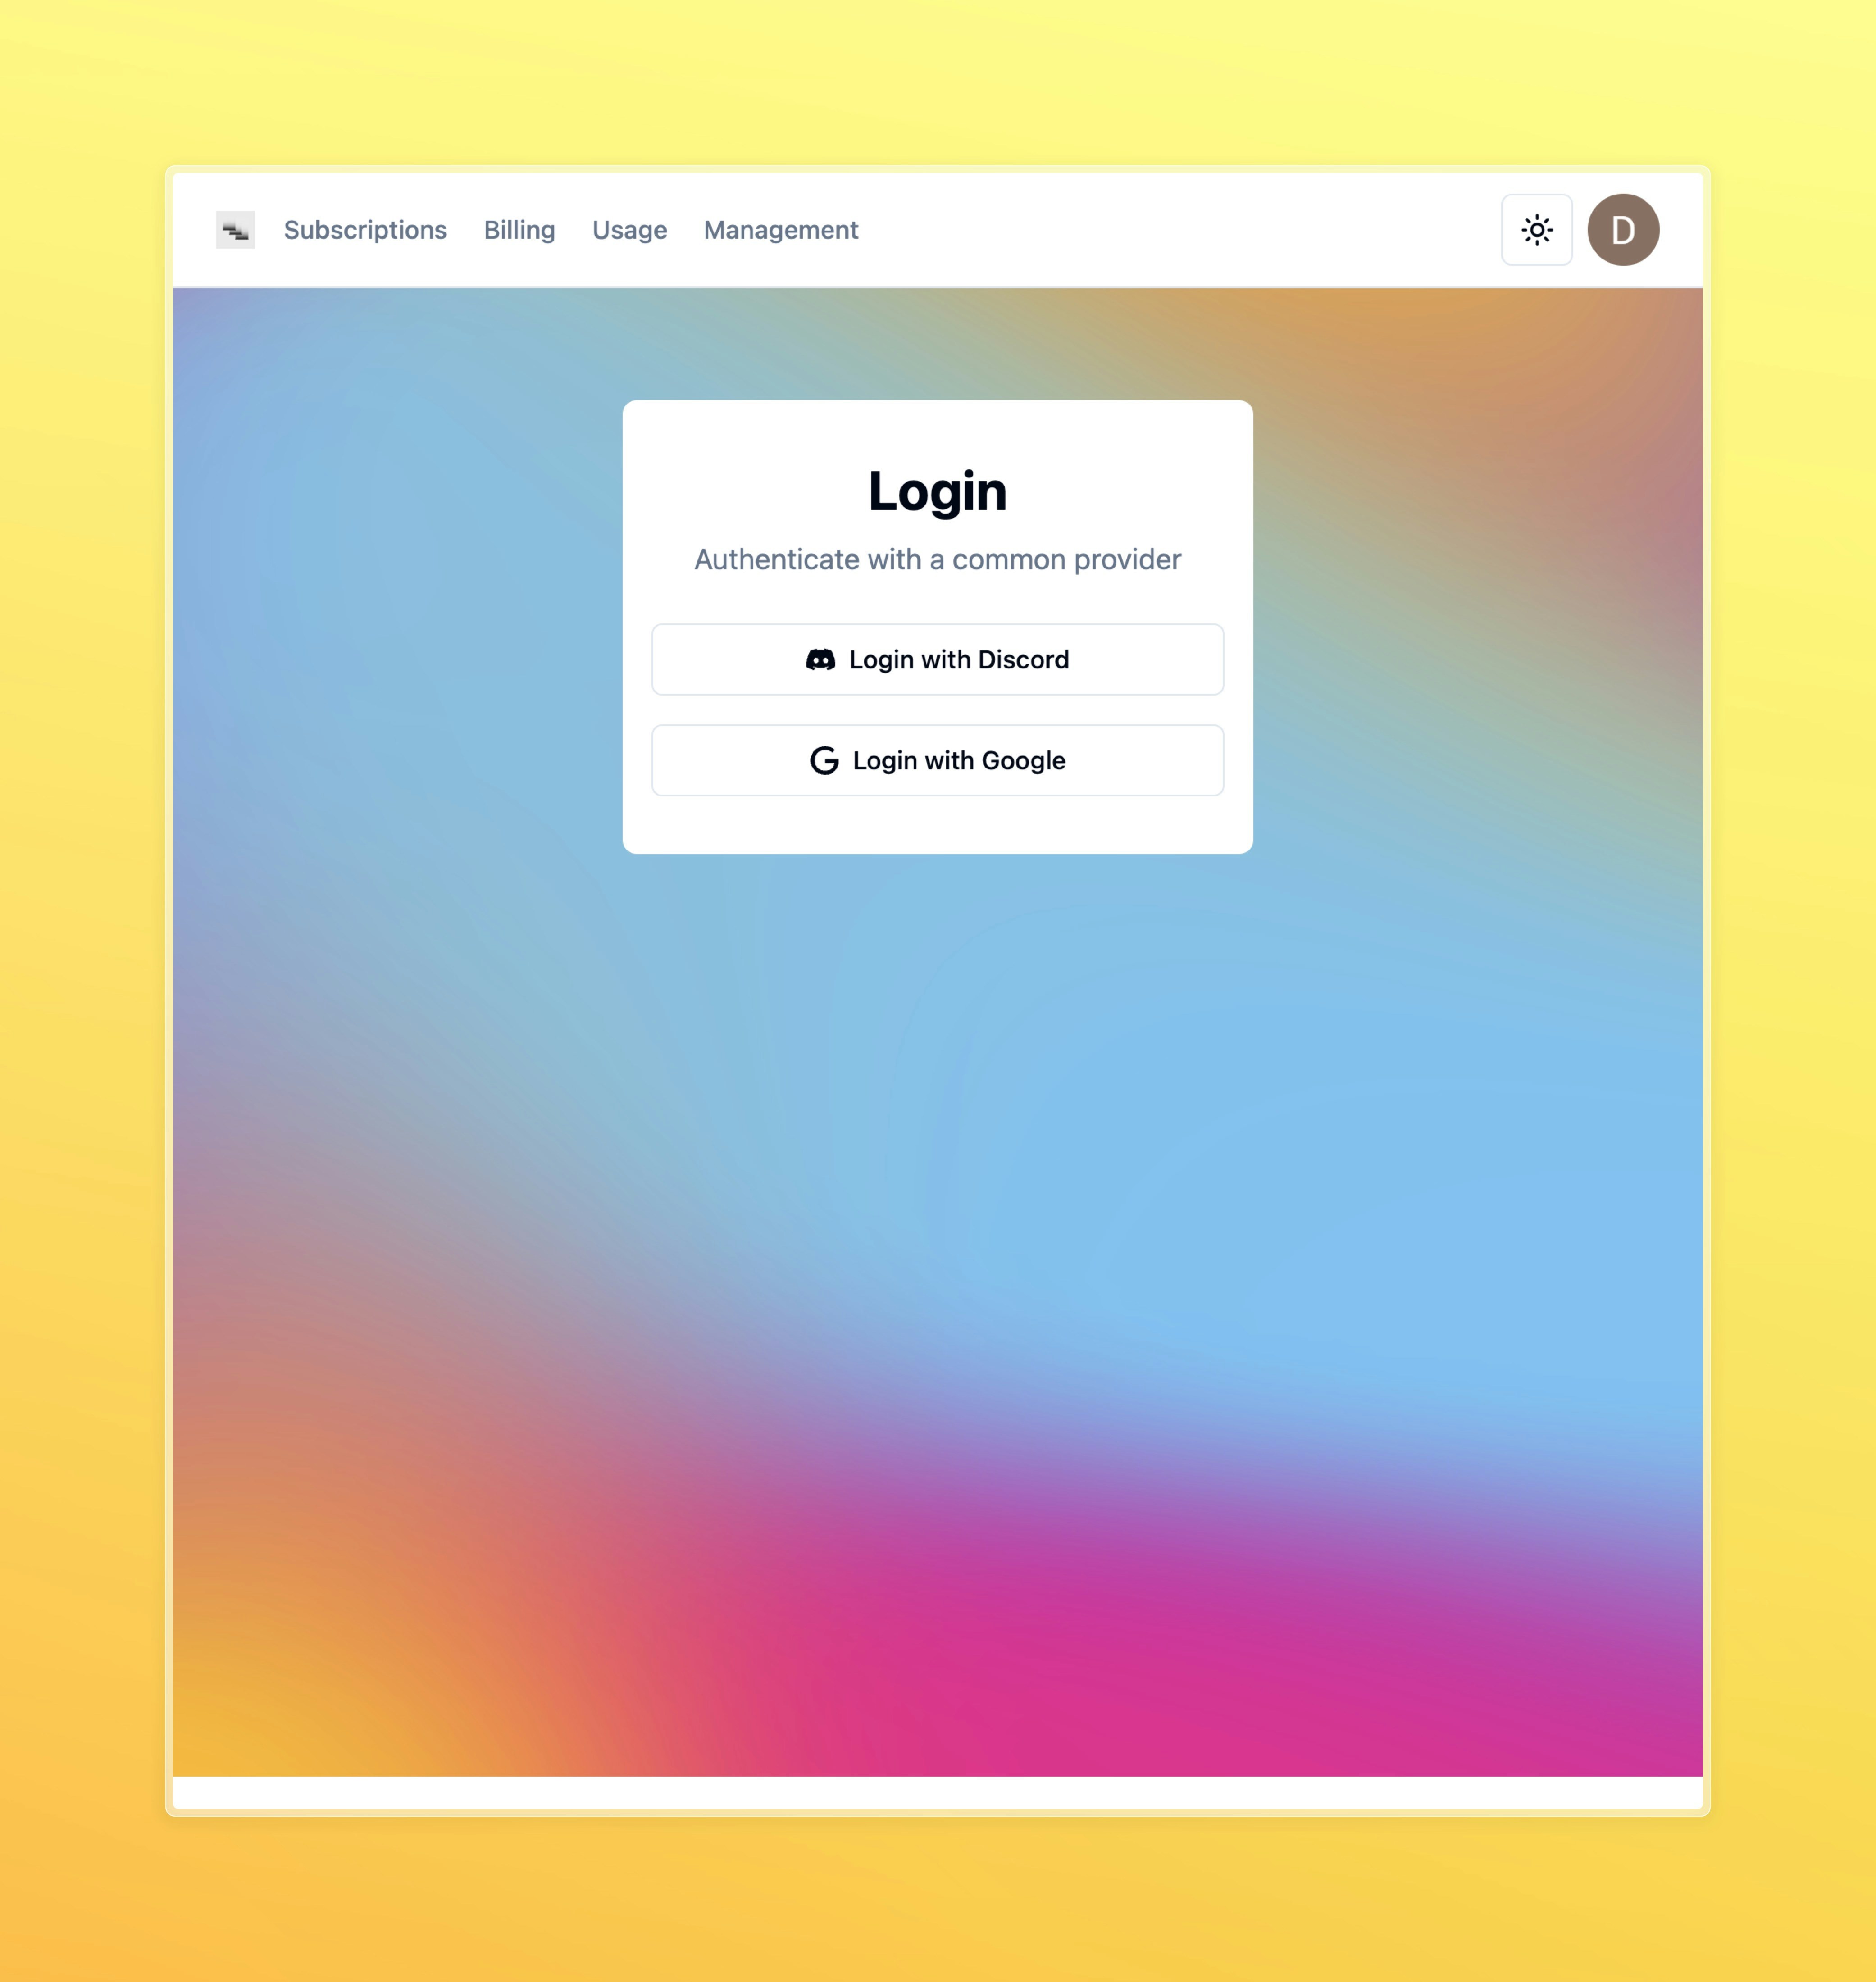
Sign in into the application
Head to the login page(http://localhost:3000) and click on the Discord button to sign in with your Discord account.
